I bought this Tandy 6000 computer system back in 2013. It’s the last model in the Tandy/TRS-80 model II/12/16/6000 series. It would not power up, and I began an on-again/off-again project of fixing its power supply spanning over several years while being distracted by all sorts of other shiny objects. I ended up temporarily (?) replacing its power supply with a modern generic power supply in 2018. This is a summary of what I did, in case it might inspire other owners of the Tandy/Radio Shack business computer system line.

Tandy 6000 Computer Peeking Out of its Bubble Wrap
That’s my 6000 when I first got it back in 2013. The picture doesn’t really do justice to its size… those are 8 inch floppy drives and a 12 inch display, and the system is about twice as deep as it is tall. It’s a big machine! It came without its matching keyboard, but I found one to go with it later. The models II and 12 have Z80 processors, and the models 16 and 6000 are the same systems with the addition of MC68000 processors. All of them can run the Z80 based software for the Tandy business systems, and the 16 and 6000 can also run a port of the Xenix operating system on their MC68000 CPU with the Z80 CPU functioning as an I/O coprocessor.
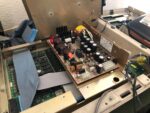
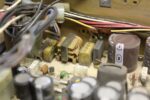
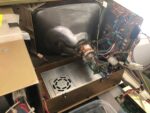
Since it doesn’t do anything when turned on, the first step is to get into the power supply and start checking it out. It’s kind of buried in there, in the middle of a bunch of sheet metal underneath the CRT. Construction varies across the II/12/16/6000 series. In my system, the top cover comes off while leaving the CRT hanging off the front panel, and there’s an additional cooling fan mounted over the power supply. I had to dig way down in there to get to the power supply.
-
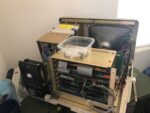
- Tandy 6000 Innards
-
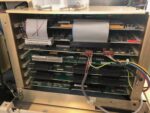
- Card Cage
-
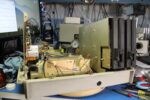
- Card Cage Removed
-
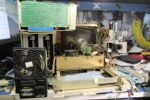
- Front Panel and CRT Removed
-
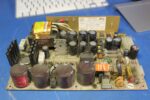
- Tandy 6000 Power Supply
-
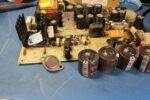
- Rifa Madness
With the power supply on my bench, I started working on it. I replaced the Rifa brand EMI suppression capacitors first, because they are very prone to catching on fire nowadays after decomposing for a few decades. I learned this first-hand when one cooked off in my Model 12, and now I replace them on sight, usually before the first time I power something up.
-
- Astec AA11082 PCB
-
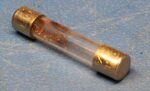
- Blown Fuse
-
- Beginning the Debugging
I built a dummy load to provide the power supply with its minimum required loading, and powered it with a variac. I used a high voltage differential oscilloscope probe for making measurements. If you don’t understand how to safely work on line-connected equipment like this, don’t even try before you learn how!
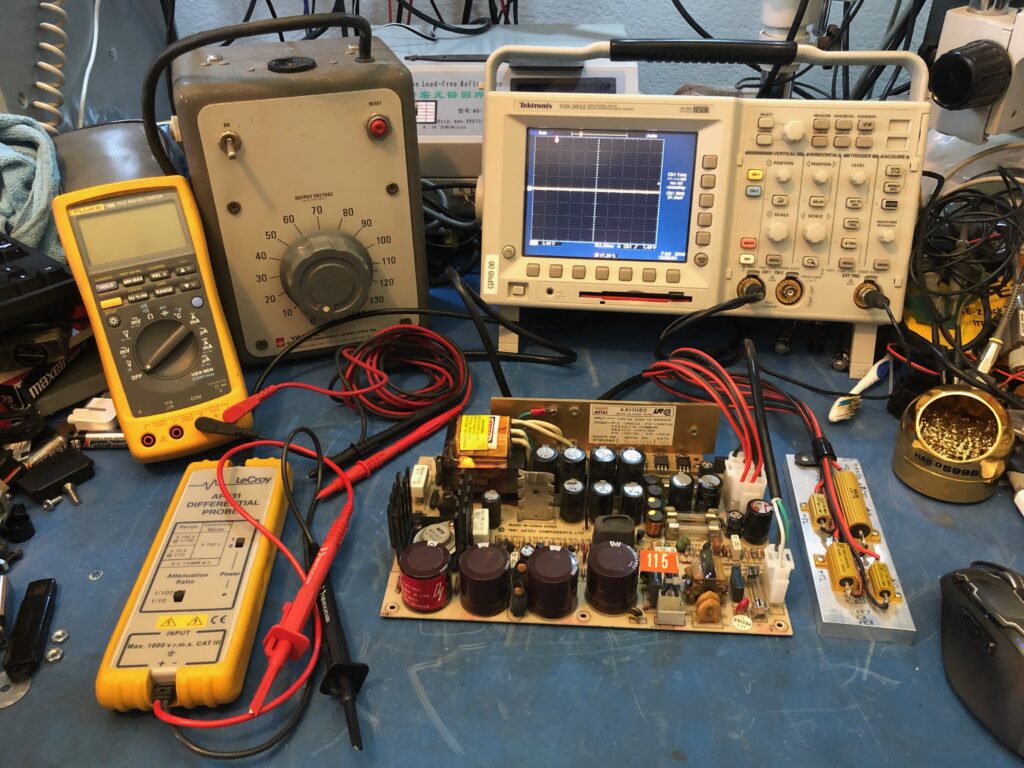
Astec AA11082 on the Bench
Tandy helpfully provided a schematic diagram and other details about the pwoer supply in the Tandy 6000 Service Manual. Here’s an excerpt with the power supply documentation: Tandy 6000 Power Supply Service Documentation
I found that the main switching transistor was shorted. After replacing it, the power supply could start making power as I slowly ramped up the input voltage. However, the +5V regulation wasn’t working, and the power supply just whined as it kept tripping its over-voltage protection and resetting. I spent quite a while trying to debug the regulation circuitry, but eventually got frustrated and decided to temporarily replace the whole unit with a modern power supply. I say temporarily to spare my pride; the computer works with its new power supply, and I’ll probably never get around to fixing the original supply! But I did the replacement in an entirely reversible manner, with no new holes and no cut wires.
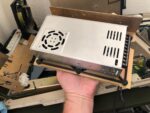
Studying the output specifications and dimensions of the original power supply, I determined that a Mean Well QP-200D power supply would fit my needs. Others have independently picked the same power supply for this application. I did the replacement in 2018. As of 2020, that power supply is still available, but is marked as “not recommended for new designs”. So, if you need to perform this retrofit on your own computer, you may need to pick a different power supply to design in.
-
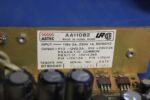
- Astec AA11082 Specifications
-
- Mean Well QP-200D Power Supply
Here are the specifications of the power supply that I picked out: Mean Well QP-200D Specifications
Since I didn’t want to drill new holes or cut old wires, I designed a 3D-printable mounting adapter to let me install the replacement power supply using the original supply’s mounting holes. Here is the STL file of my adapter design: Mean Well QP-200D Mounting Adapter
I also made adapter cables to plug the new power supply into the original wiring harnesses in the computer. Here are the components I used for the computer ends:
| Description | Manufacturer | Part Number |
|---|---|---|
| 3-pin housing for AC input | TE Connectivity | 1-480701-0 |
| 15-pin housing for DC output | TE Connectivity | 1-480711-0 |
| Male crimp pins for both connectors | TE Connectivity | 350547-1 |
I used crimp-on ring terminals at the power supply end, and labeled each wire with slip-on wire markers like these.
-
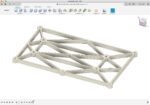
- Power Supply Mounting Adapter Frame in Fusion 360
-
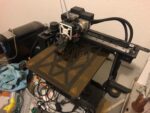
- Printing the Adapter
-
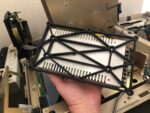
- Adapter on Bottom of Replacement Power Supply
-
- Replacement Power Supply Test Fit 1
-
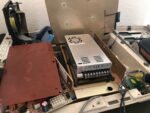
- Replacement Power Supply Test Fit 2
-
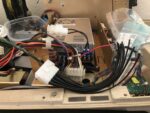
- Harness Construction 1
-
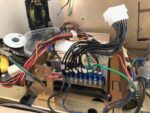
- Harness Construction 2
-
- Harness Construction 3
-
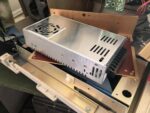
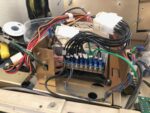
- Replacement Power Supply Installed
With the new power supply installed, I removed all of the expansion cards that would not be needed for a first smoke test, crossed my fingers, and applied power… and it worked!
-

- Reduced Configuration for First Smoke Test
-
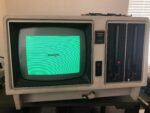
- First Power-Up!
At this point, I reinstalled all of the cards and started working with the system. I still don’t have it where I want it yet, but that’s a story for another day.